In my last blog entry, I talked about playing my first show in over a decade—and a solo one at that! As I mentioned last time, I didn’t want to play my show unplugged but rather with backing tracks of drums, bass, guitars, and background vocals. I also knew that I wanted to play the three songs from my last EP. Those alone would have made a set of about 15 minutes, which seemed a little short to me.
To extend the runtime of my show a bit, I looked back at some demos for new songs that I recorded in early 2024. They were unfinished in places and definitely needed some further work to get them to a state where I’d feel comfortable publishing—but I could see myself playing them live, using the demo tracks as backing tracks.
One song in particular stood out to me: a disco-y, dance-y song about being in love called “Dancing on the Moon.” It had been on my mind ever since I produced a demo for it. While the other demos didn’t feel ready to be shown to the world, this one did.
I also remembered a Twitch stream I did sometime in early summer 2024, where I just kind of noodled around with Ableton Live and my guitar while talking to my chat. At the end of that stream, I came up with a version of a song I wrote for Herr Flamingo in 2011 called “Discopunk.” Originally a punk song with small disco elements (I know…), this version became much funkier and more danceable. It felt like the perfect candidate for my set!
I dug into my box of old songs once more, unearthing one of the first songs I released on my own in 2015: “Places to Go,” a prog-rock song inspired by Genesis that deals with a breakup. This felt like the perfect song for the beginning of the set because it slowly builds up before unleashing its full power in the first chorus.
The setlist for my gig was complete, with a runtime of about 30 minutes, including a few breaks for talking. With that in mind, I began putting together the central piece of the performance—the project in Ableton Live that would play all the backing tracks, clicks, and control my guitar’s effects.

First things first: I collected my project files for the songs I planned to play and began exporting stems, grouped in a way that made sense to me. I ended up with separate files for rhythm guitars, bass, percussion, synthesizers/keys, and brass instruments, as well as one track with cues and a click to keep me on track.

The cue and click tracks were recommended by Scott Uhl, whom I mentioned in the last blog entry. Essentially, it’s a track with a metronome clicking in time with the song, along with short cues that I recorded. These usually consisted of me counting down for the start of the guitar or vocals, just to really make sure I wouldn’t miss crucial moments. Incredibly helpful when you miscount a bar or get nervous while playing live!
With the bounces done, I began importing the stems into my Ableton Live project. Each song got its own scene, with each stem in a separate track. I also set each scene to the tempo of the song, which isn’t strictly necessary if you have your own click track for each song, but for what I had in mind, this would make things easier (or so I thought!).
The problem is usually in front of the screen
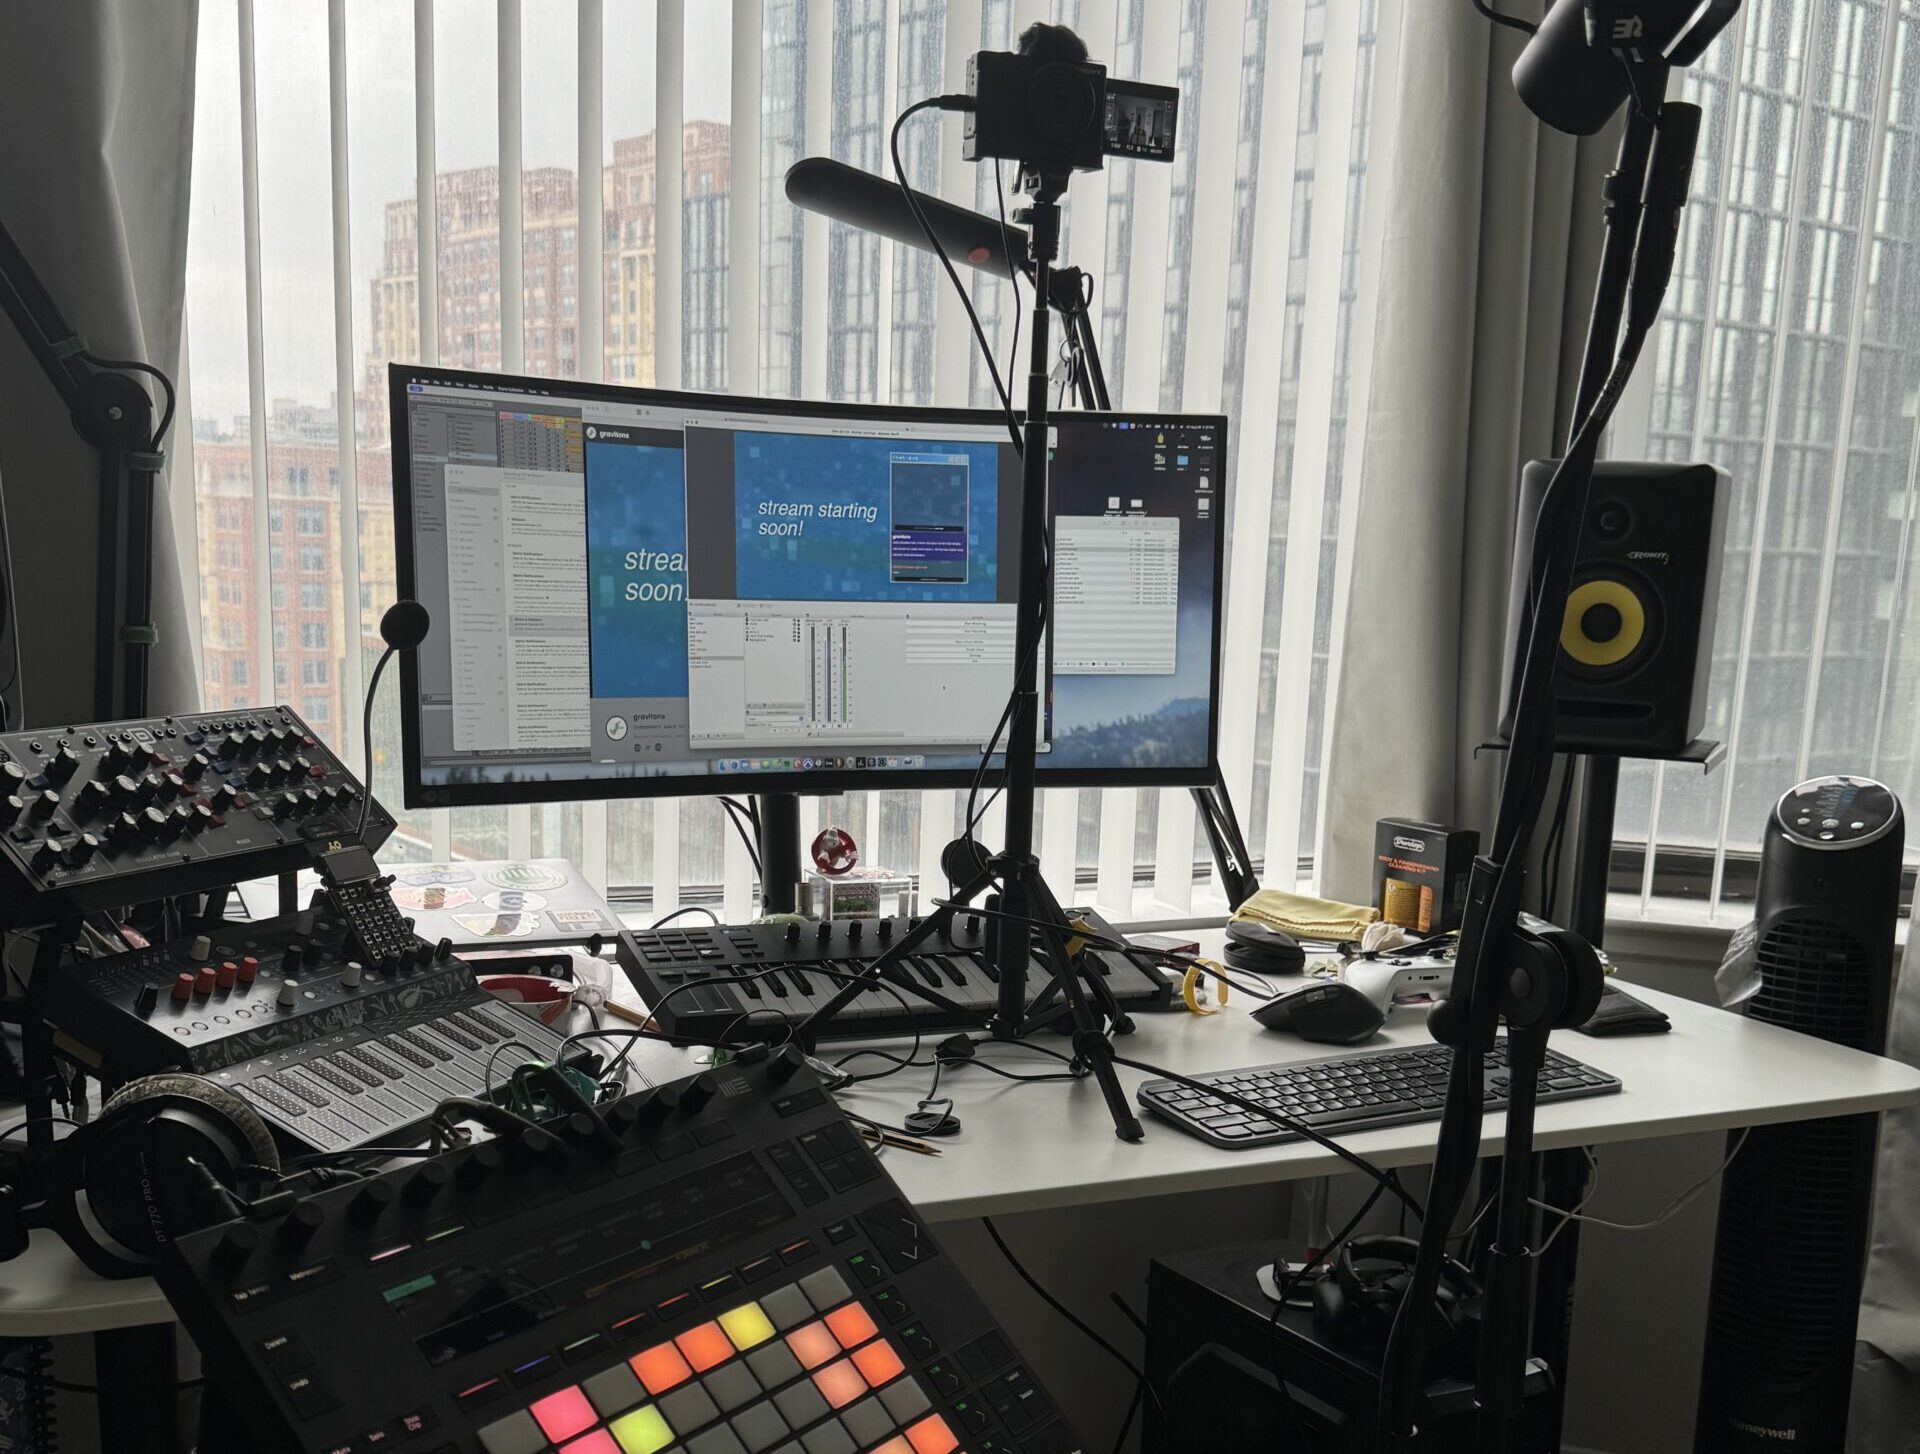
This might be a good moment to talk about my setup outside of the computer. I planned to run the Ableton project with an Ableton Push 2, which I’ve had for a while. If you’re not familiar, it’s a controller specifically designed to be used as a remote for Ableton Live. This would be my launchpad for every song in the set, playing the stems at the push of a button.
For my vocals, I opted to use my Shure SM7b, which I usually use to record vocals for my songs. I like the sound, and as a dynamic microphone, it gives me less room tone and should pick up less noise from me stomping on foot switches or tapping my feet to the beat.
During some of the songs, I needed to change the sound of the guitar: turning distortion, phaser, reverb, or echo on and off. I wanted these changes to happen automatically during the set so that I wouldn’t have to worry about anything mid-performance. The solution I came up with: automations.
If you’re not familiar with audio production software, automations allow you to program changes to almost anything in a project. Want an instrument to become quieter in a certain part of a song? Or move an instrument from the left speaker to the right over time? Automations can handle all that and more. They’re incredibly useful, and I use them all the time when I produce music.

I created some clips for the tracks I needed the automations on and made them the same length as the song they were associated with. These were otherwise empty clips that only contained the automations I needed for each song.
While this setup would work, I quickly realized it limited me in a crucial way: I wouldn’t be able to trigger any changes manually. This approach could work, especially for a highly choreographed show, but during rehearsals, it felt awkward. Waiting for a sound change to happen at a specific time instead of being able to trigger it myself with the push of a button left me feeling more restricted than supported.
So, I needed a different solution. From my old stage days, I still had my old effects pedal board. However, from previous experience, I knew that using its actual effects wouldn’t work well with the rest of my setup. Without an actual amp, I didn’t want to rely on my old board.
Join me in my next blog entry to find out how I solved my guitar FX problem and how the gig actually went! This is turning into a longer series than I anticipated. Thanks for reading so far! I’d love to hear your feedback or ideas in the comments below!
Leave a Reply
You must be logged in to post a comment.